Why Creators Are Switching from Sellfy
The most common reasons creators migrate from Sellfy:
Revenue caps forcing expensive plan upgrades as sales growEmail credit limits restricting marketing campaignsNo bio link storefront for social media trafficNo course builder for educational content$29/month minimum with no free plan for testing
If any of these are holding your business back, the switch to Creastor eliminates all of them. Here's exactly how to do it.
Before You Start: What to Prepare
Gather these items before beginning your migration:
[ ] Your Sellfy login credentials [ ] All digital product files (PDFs, videos, templates, etc.) [ ] Product descriptions and pricing information [ ] Cover images for your products [ ] Your subscriber/customer email list [ ] Any custom domain DNS settings (if applicable) [ ] Your social media account logins (to update bio links)
The migration doesn't require any technical skills. If you can upload files and copy-paste text, you can complete this guide.
Step 1: Export Your Data from Sellfy (10 minutes)
Export Your Products
Navigate to Sellfy Dashboard → Products. For each product:
Download the product file — click on the product, find the download/file section, and save the digital file to your computerCopy the product title and description — paste into a document for referenceNote the price and currency for each productSave the cover image — right-click and save, or download from the product editor
Export Your Email Subscribers
Go to Sellfy Dashboard → Email Marketing → Subscribers:
Click Export to download your subscriber list as a CSV file This file contains email addresses and any subscriber data Sellfy has collected Save this CSV — you'll import it into Creastor
Export Your Order History (Optional)
If you want to retain your sales records:
Go to Dashboard → Orders Export your order history as CSV This is for your own records — Creastor starts fresh with new order tracking
Step 2: Create Your Creastor Store (10 minutes)
Sign Up
Go to creastor.com/signup Create your free account — no credit card required Choose your username (this becomes your bio link URL: creastor.com/yourusername)
Configure Your Profile
Upload your profile photo — the same one you use on social media for brand consistency Write your bio — keep it concise and action-oriented Add your social media links for cross-platform connection Choose a theme that matches your brand aesthetic
Choose Your Plan
Start with the free plan to test everything. Upgrade to Starter ($19/mo) or Pro ($39/mo) when you're ready to go live without transaction fees.
Step 3: Upload Your Products (15–30 minutes)
For each product you exported from Sellfy:
Click Add Product in your Creastor dashboard Choose the product type (Digital Download, Course, Membership, etc.) Upload the product file — the same file you downloaded from SellfyEnter the product title — optimize for SEO by including relevant keywordsWrite the description — use your Sellfy description as a starting point, but enhance it for Creastor's SEO-optimized pagesSet the price — keep it the same or adjust based on the 0% transaction fee advantageUpload the cover image Publish when ready
SEO Optimization Tips
Since Creastor generates SEO-optimized product pages (unlike Sellfy's basic SEO), take this opportunity to:
Include your primary keyword in the product title Write a detailed description (200+ words) that naturally includes search terms Use descriptive alt text for your cover image The page's meta tags and schema markup are generated automatically
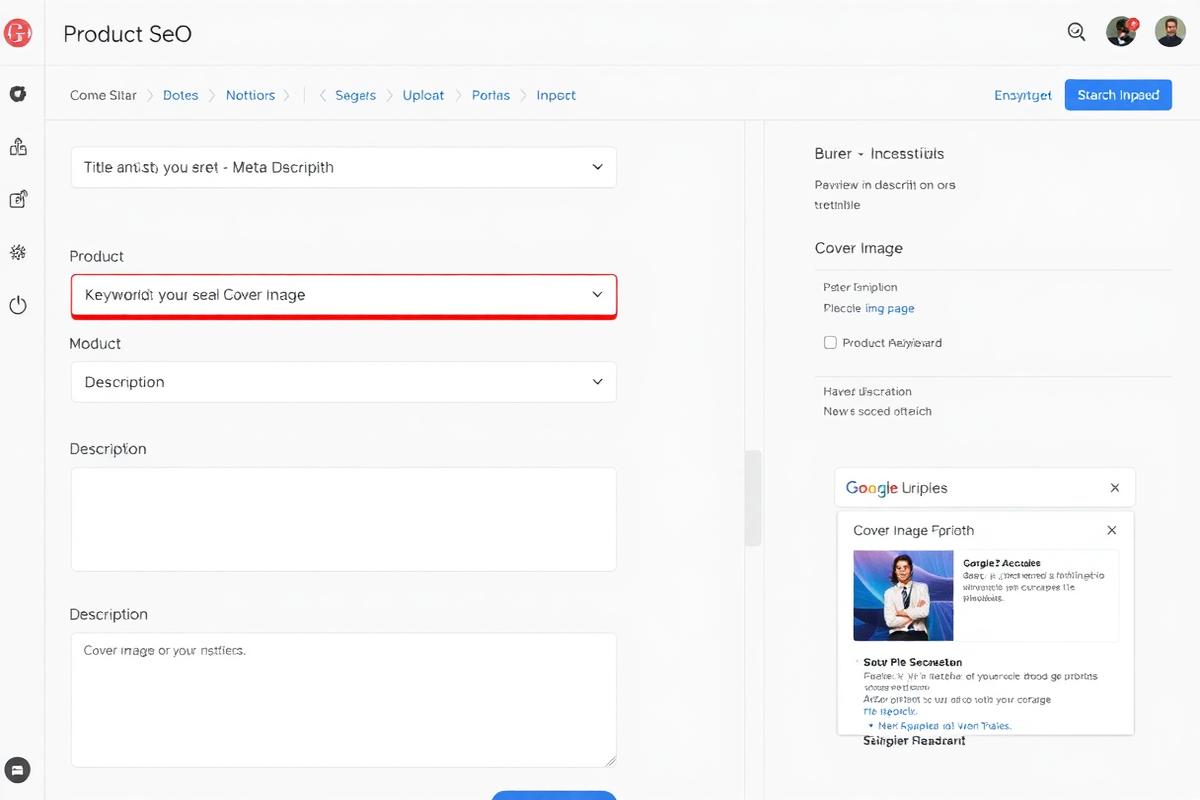
Creastor product editor showing SEO-optimized product page setup with title keywords description and cover image fields
Step 4: Import Your Email List (5 minutes)
Go to your Creastor dashboard → Subscribers Click Import and upload the CSV file you exported from Sellfy Map the CSV columns to Creastor's fields (email, name, etc.) Confirm the import
Your subscribers are now in Creastor. Set up a welcome/transition email sequence:
Email 1 (send immediately) : "We've upgraded! Here's your new link to access your purchases and future products."
Email 2 (send 3 days later) : Share your latest product or a piece of valuable content — business as usual on the new platform.
Step 5: Set Up Email Sequences (10 minutes)
Take advantage of Creastor's unlimited email sequences — something Sellfy's credit-based system made difficult:
Welcome sequence : 3-email series for new subscribersPost-purchase sequence : Upsell related products after a purchaseRe-engagement sequence : Win back inactive subscribers
These automated sequences run continuously without consuming credits — because there are no credits to consume.
Step 6: Update Your Bio Links (5 minutes)
This is the critical step — redirecting your traffic:
Instagram Settings → Edit Profile → Website → replace Sellfy URL with your Creastor bio link
TikTok Edit Profile → Website → update to your Creastor link
YouTube Studio → Customization → Basic Info → Links → update
Twitter/X Edit Profile → Website → update
Other Platforms Update any pinned posts, video descriptions, email signatures, or website links that reference your Sellfy store.
Step 7: Set Up Custom Domain (Optional, 5 minutes)
If you were using a custom domain on Sellfy, point it to Creastor instead:
In Creastor dashboard → Settings → Custom Domain Enter your domain Update your DNS records as instructed (typically a CNAME record) SSL is provisioned automatically
Step 8: Verify Everything Works
Before canceling your Sellfy subscription:
[ ] All products are live and purchasable on Creastor [ ] Payment processing is connected (Stripe) [ ] Email sequences are active [ ] Bio links across all platforms point to Creastor [ ] Custom domain (if applicable) is resolving correctly [ ] Test a purchase flow end-to-end
Step 9: Cancel Sellfy
Once everything is verified:
Log into Sellfy → Settings → Subscription Cancel your plan Your store remains accessible until the end of your billing period
Note : Keep your Sellfy account data exported — once canceled, you may lose access to historical data.
What You Gain After Migrating
Feature On Sellfy On Creastor Monthly cost $29–$159/mo $0–$39/mo Revenue caps $10k–$200k/year None Email sends 10k–200k credits Unlimited Bio link storefront ❌ ✅ Course builder ❌ ✅ SEO-optimized pages ⚠️ Basic✅ FullTransaction fees 0% 0% (paid plans) Sales funnels ❌ ✅ Age gating ❌ ✅
The migration is a one-time investment of 30–60 minutes that permanently reduces your costs and removes growth limitations.
Start your free Creastor store →
Best Sellfy Alternative — Full comparison before migratingSellfy Pricing & Revenue Caps — Why the caps make switching worthwhileMigrate from Payhip to Creastor — Similar guide for Payhip usersHow to Sell Digital Products Online — Optimize your new store